Flutter Basics: How to Set Up Your Development Environment (Step-by-Step Guide)

🚀 Flutter Basics: How to Set Up Your Development Environment (Step-by-Step Guide)
The Flutter Setup Nightmare: Solved.
You’re eager to build high-performance, beautiful mobile and web apps, but the initial development environment setup feels like navigating a maze. It’s the single biggest friction point for new developers, wasting hours that should be spent coding. I get it. This post cuts through the noise and gives you the core 20% knowledge you need right now to get productive instantly. I’m Zuraiz Nayyar of Code Genesis, a developer specializing in scalable app solutions and GetX state management. Let’s set you up for success.
The Core Concept Decoded: The Flutter SDK
The Flutter Software Development Kit (SDK) is the essential toolkit that allows you to compile your Dart code into native applications for multiple platforms. Understanding its importance is key: It’s not just a library; it’s a cross-platform compilation and execution engine. Why is this essential for scalable, professional work? Because a correctly configured SDK is the foundation for reliable performance tuning and consistent deployment across iOS, Android, and Web, ensuring your app runs identically for every user.
The 20% Rule: Environment Setup Simplified
Forget the exhaustive guides. You only need to master these five non-negotiable steps to launch your first project. This is the 80/20 breakdown for a professional setup.
1. The Flutter SDK Download and Path Configuration
First, download the Flutter SDK zip file for your operating system. After extracting it to a stable location (e.g., C:\src\flutter on Windows or ~/development/flutter on macOS/Linux), you must update your system’s PATH variable. This allows you to run Flutter commands from any terminal window.
For macOS/Linux users, modify your shell configuration file (e.g., .bashrc, .zshrc) and then source it:
export PATH="$PATH:/path/to/flutter/bin"
source $HOME/.zshrc # Or .bashrc
2. Verify Dependencies with flutter doctor
Before writing a single line of Dart, you need to check that all platform dependencies (like Android Studio, Xcode, and command-line tools) are correctly installed. This single command is your health check. It highlights exactly what’s missing.
flutter doctor
3. Install the Core IDE and Essential Plugins
You need a professional environment. Visual Studio Code (VS Code) is the industry standard for Flutter development. After installation, immediately install the two critical extensions. These provide syntax highlighting, code completion, and debugging support—boosting your efficiency dramatically.
Dart Extension
Flutter Extension
4. Setting Up an Android Emulator (or iOS Simulator)
Testing on a physical device is crucial, but for rapid development, an emulator or simulator is required. Using Android Studio’s Device Manager (AVD Manager), create a stable, recent device (e.g., Pixel 7). Ensure HAXM (or the respective hardware acceleration) is enabled for fast boot times and reliable performance. This step eliminates the biggest bottleneck for beginners: slow testing cycles.
5. Create and Run Your First Project
With the environment configured, use the create command to scaffold a new project based on the recommended structure. Then, use the run command. The -d flag specifies the target device you verified in the previous steps. This final step confirms everything is working end-to-end.
flutter create my_first_app
cd my_first_app
flutter run -d <emulator_id> # Use the ID listed by 'flutter devices'
Zuraiz’s Pro Tip: Architecting for Scalability with GetX
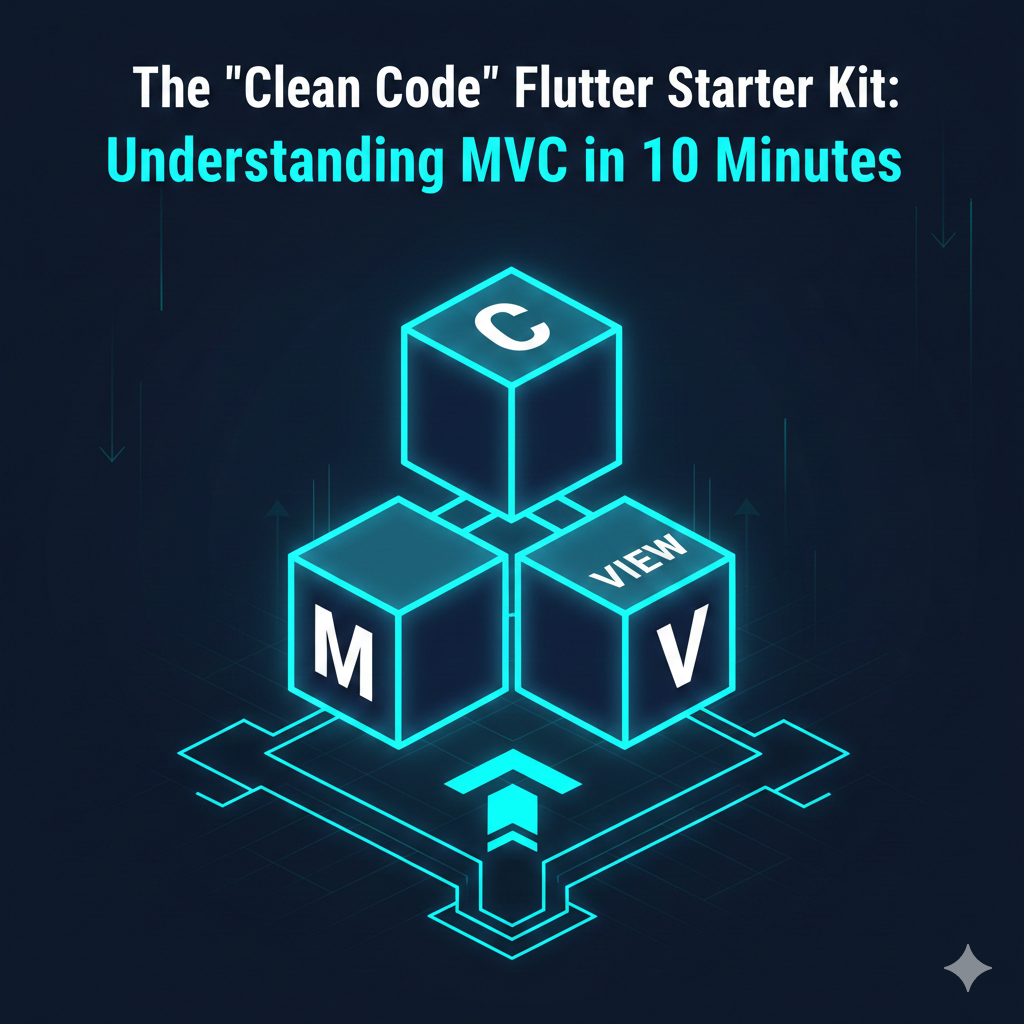
Most beginner guides skip the architecture, leading to “spaghetti code.” My pro tip: From day one, structure your project using the Model-View-Controller (MVC) Architecture.
Don’t just use it; enforce it. I utilize my expertise in GetX State Expert to make this seamless. GetX’s Controller class (the ‘C’ in MVC) naturally separates the business logic from the UI (the ‘V’). Instead of managing state in the widget tree, you put your API calls, data manipulation, and navigation logic into a dedicated GetxController. This immediately makes your application robust, testable, and future-proof. Never couple your UI code with your business logic—that’s the secret to scalable app solutions.
For example, your View just calls a method on the Controller; the Controller handles the data and updates the View reactively.
// The View calls the Controller
Get.find<HomeController>().incrementCounter();
Conclusion & Next Steps: Your Flutter Launchpad
You’ve successfully completed the core 20% setup required for professional Flutter development. By prioritizing PATH configuration, dependency verification, and an MVC-ready architecture using GetX principles, you’ve saved days of trial and error.
Ready to implement this structure in a real-world application? See how I applied GetX State Management and the MVC Architecture to projects like Social Fit and Code Genesis Pro on the Projects Page.
Let’s build something amazing together.

Efficiency is often mistaken for weakness. In the tech world, “cross-platform” is a word used by people looking for an…
Introduction Watching your Flutter code turn into spaghetti as features grow? You’re not alone. This guide gives you the fastest…
An has alterum nominavi. Nam at elitr veritus voluptaria. Cu eum regione tacimates vituperatoribus, ut mutat delenit est.
An has alterum nominavi. Nam at elitr veritus voluptaria. Cu eum regione tacimates vituperatoribus, ut mutat delenit est. An has alterum nominavi.
An has alterum nominavi. Nam at elitr veritus voluptaria. Cu eum regione tacimates vituperatoribus, ut mutat delenit est.